
The “Posts” widget is a great way to display your blogposts and news on a page.
First make sure you are in “Edit Page”.
Search For “Posts” Widget
You are going to search for the “Posts” widget. Once you find it- click and drag.

Click & Drag
Click on the widget as shown in the picture above and drag it where you want it to appear on your page.
Set Colums
Decide how many columns across you want displayed on the page. You can choose between 1 and 6. For this tutorial let’s choose 3.

Set How Many Posts Per Page
This is where you decide how many total posts will show up on your page.

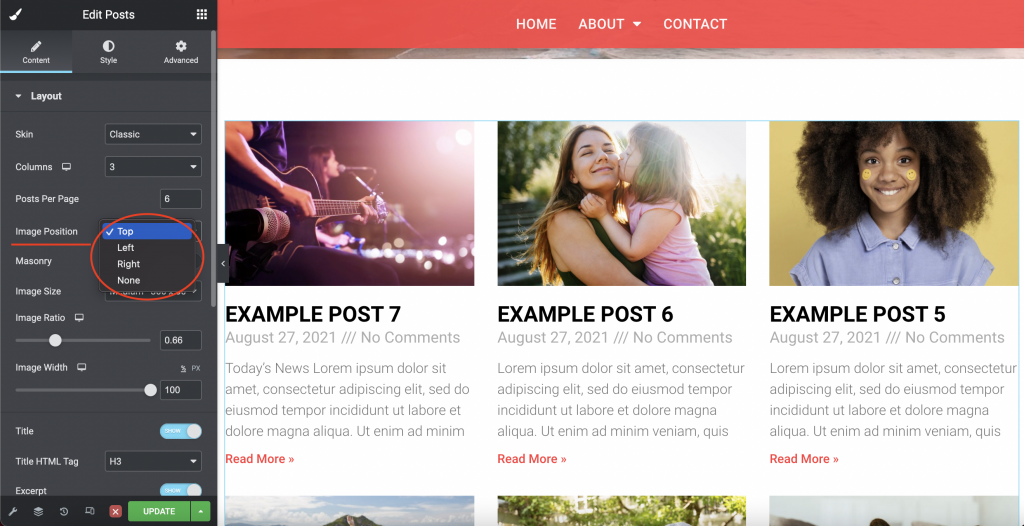
Set Image Position
This determines where your image will show up in the grid- top, left, right, or none.
Optional: Masonry
Selecting “Masonry” will make the posts stay the same width, but allow the height of the image to be it’s full dimensions. For a better visual, look at the pic above and note the photo for “Example Post 5”, then look at that same post in the photo below:
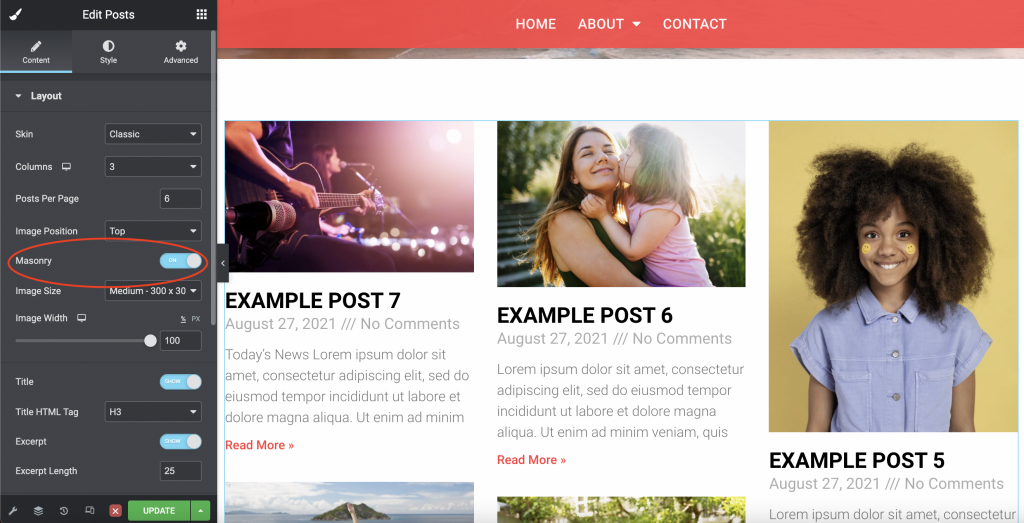
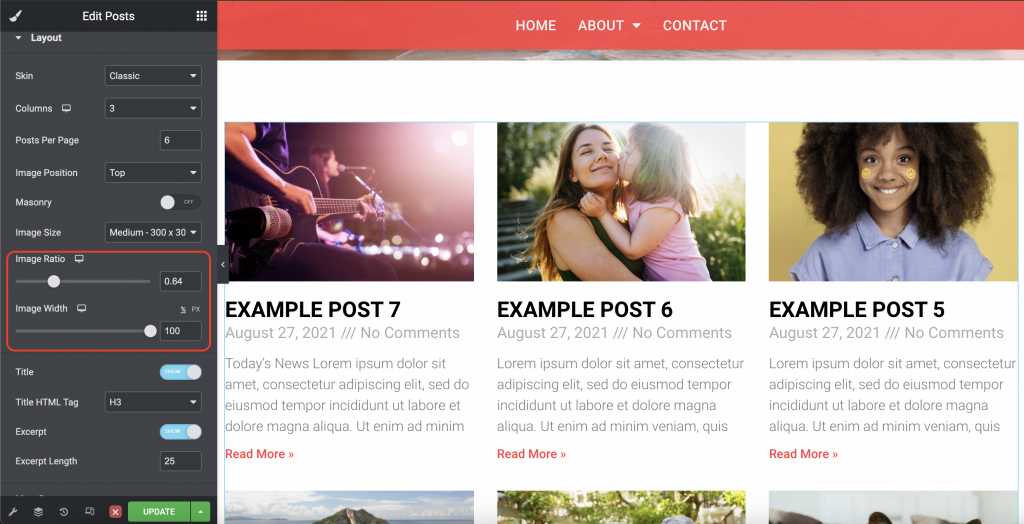
Image Ratio & Width
Toggle the ratio and width of the image to your liking.
Preview Options
Here you can choose what is shown from your posts. The title, excerpt (and length), and the meta data. To deselect meta data, simply click the “x” next to the item you want to remove.

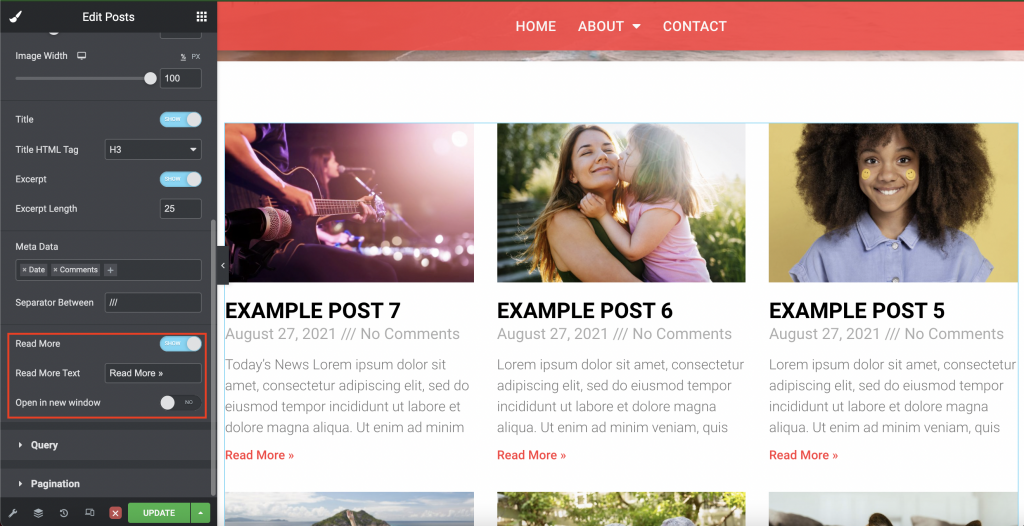
“Read More” Options
The “Read More” button allows viewers to see the rest of your post. You can turn the button off, but we do not recommend it unless you are showing the full content of the posts on your page.
The “Read More” text box allows you to change it to say something other than “Read More”. Perhaps, “Continue Reading”.
“Open in New Tab” is an option that ensures when someone clicks on “Read More” that it opens in another tab instead of redirecting you from the page that you are on.
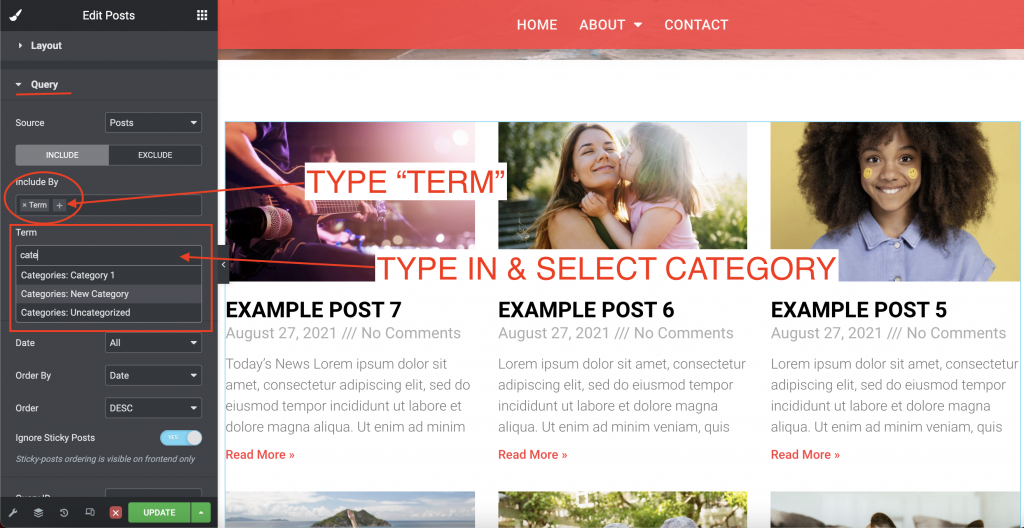
Choose Category
If you have many categories in your posts. Perhaps you have a “News” category among many others, but you ONLY want to display the “News”, then you will want to utilize the “Query” dropdown.
First, type “Term” in “Include By”. Then search for the category that you want to display.
Style: Columns & Rows Gap
You can play around with the gap between columns and rows by clicking the “Style” tab and sliding the options under “Layout”.

Finalize Font Styles
The final tool for customizing is also under the “Style” tab, and that is the “Content” dropdown. Here you can change the color, size, font, etc. of the titles, excerpts, read more buttons, and meta data. We put together a short video going through the options:
Save & Exit
Once you are happy with the way everything looks, be sure to hit the green “Update” button before exiting the page editor!